Redigera mina säkra och blockerade avsändarlistor
Kontrollera vilket e-postmeddelande som skickas till karantän genom att lägga till en specifik e-postadress, domän eller IP-adress i antingen Tillåtna lista eller Blockera lista. E-post från tillåtna avsändare går inte i karantän, medan e-post från blockerade avsändare gör det.
- Logga in på din GoDaddy avancerade e-postsäkerhetssida (använd ditt användarnamn och lösenord för GoDaddy).
- Välj Logga in på avancerad e-postsäkerhet . Inloggningssidan öppnas.
- Ange din e-postadress, välj Logga in och sedan Logga in med Microsoft .
- Följ anvisningarna på skärmen för att logga in med din Microsoft 365-e-postadress och lösenord. Portalen Avancerad e-postsäkerhet öppnas.
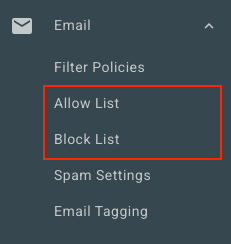
- Välj E-post längst till vänster. Beroende på om du vill lägga till en avsändare i din Tillåt lista eller Blockera lista, välj ett alternativ:
- Tillåt lista : Välj Tillåt lista . Välj Lägg till tillåtna poster i det övre högra hörnet.
- Blockera lista : Välj Blockera lista . I det övre högra hörnet väljer du Lägg till blockpost .
- Under Tillåt eller Blockera följande anger du en e-postadress, domän eller IP-adress. Separera varje avsändare med kommatecken eller semikolon, eller genom att ange det på en ny rad.
- Välj Spara.
Redigera Tillåt och blockera listor för alla användare
Om du är administratör kan du visa och redigera Tillåtna och Blockerade listor för alla användare i organisationen.
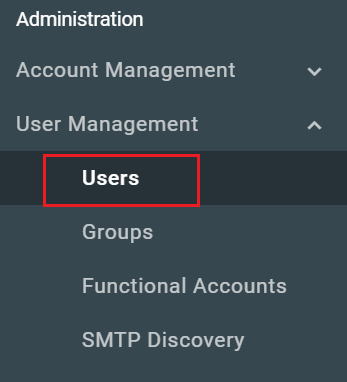
- Välj Användarhantering längst till vänster och sedan Användare .
- Välj Namn / E-postadress för den användare du vill redigera.
- Överst på sidan väljer du antingen Tillåt lista eller Blockera lista , beroende på vilken lista du vill redigera.
Du kan se och redigera varje användares lista genom att upprepa de här stegen.